
How To: Make a custom G3 rail system
Own a G3 and want a rail system for it but don't want to spend big bucks? Here's how to make your own!
(Please allow a few moments for pictures to load.)
Supplies you will need:

M14 rail system
PVC Pipe – 10 & 7/8 inches long with an inside diameter of 1 & 3/8 inches (total diameter: 1 & 5/8 inches)
Screws –1/2 inch long course thread screws (2x)
Metal Wire – 6 inches of stiff metal wire
Wooden peg – 1 & 1/4 inches long. It doesn’t really matter what you use for this (you could probably use a piece of a chopstick or some other skinny rod. You could also use metal or plastic if you can find something the right diameter).
Tools you will need:
- Pliers
- Wirecutters
- A drill with a small drill bit
- A hack saw or another saw of some kind (a saw with a blade that is 1/8 inches wide would be perfect for Step 2.)
- A Phillips-head screwdriver
Step 1:
Take the PVC pipe and cut a 3/4 inch slot along the length of the pipe.

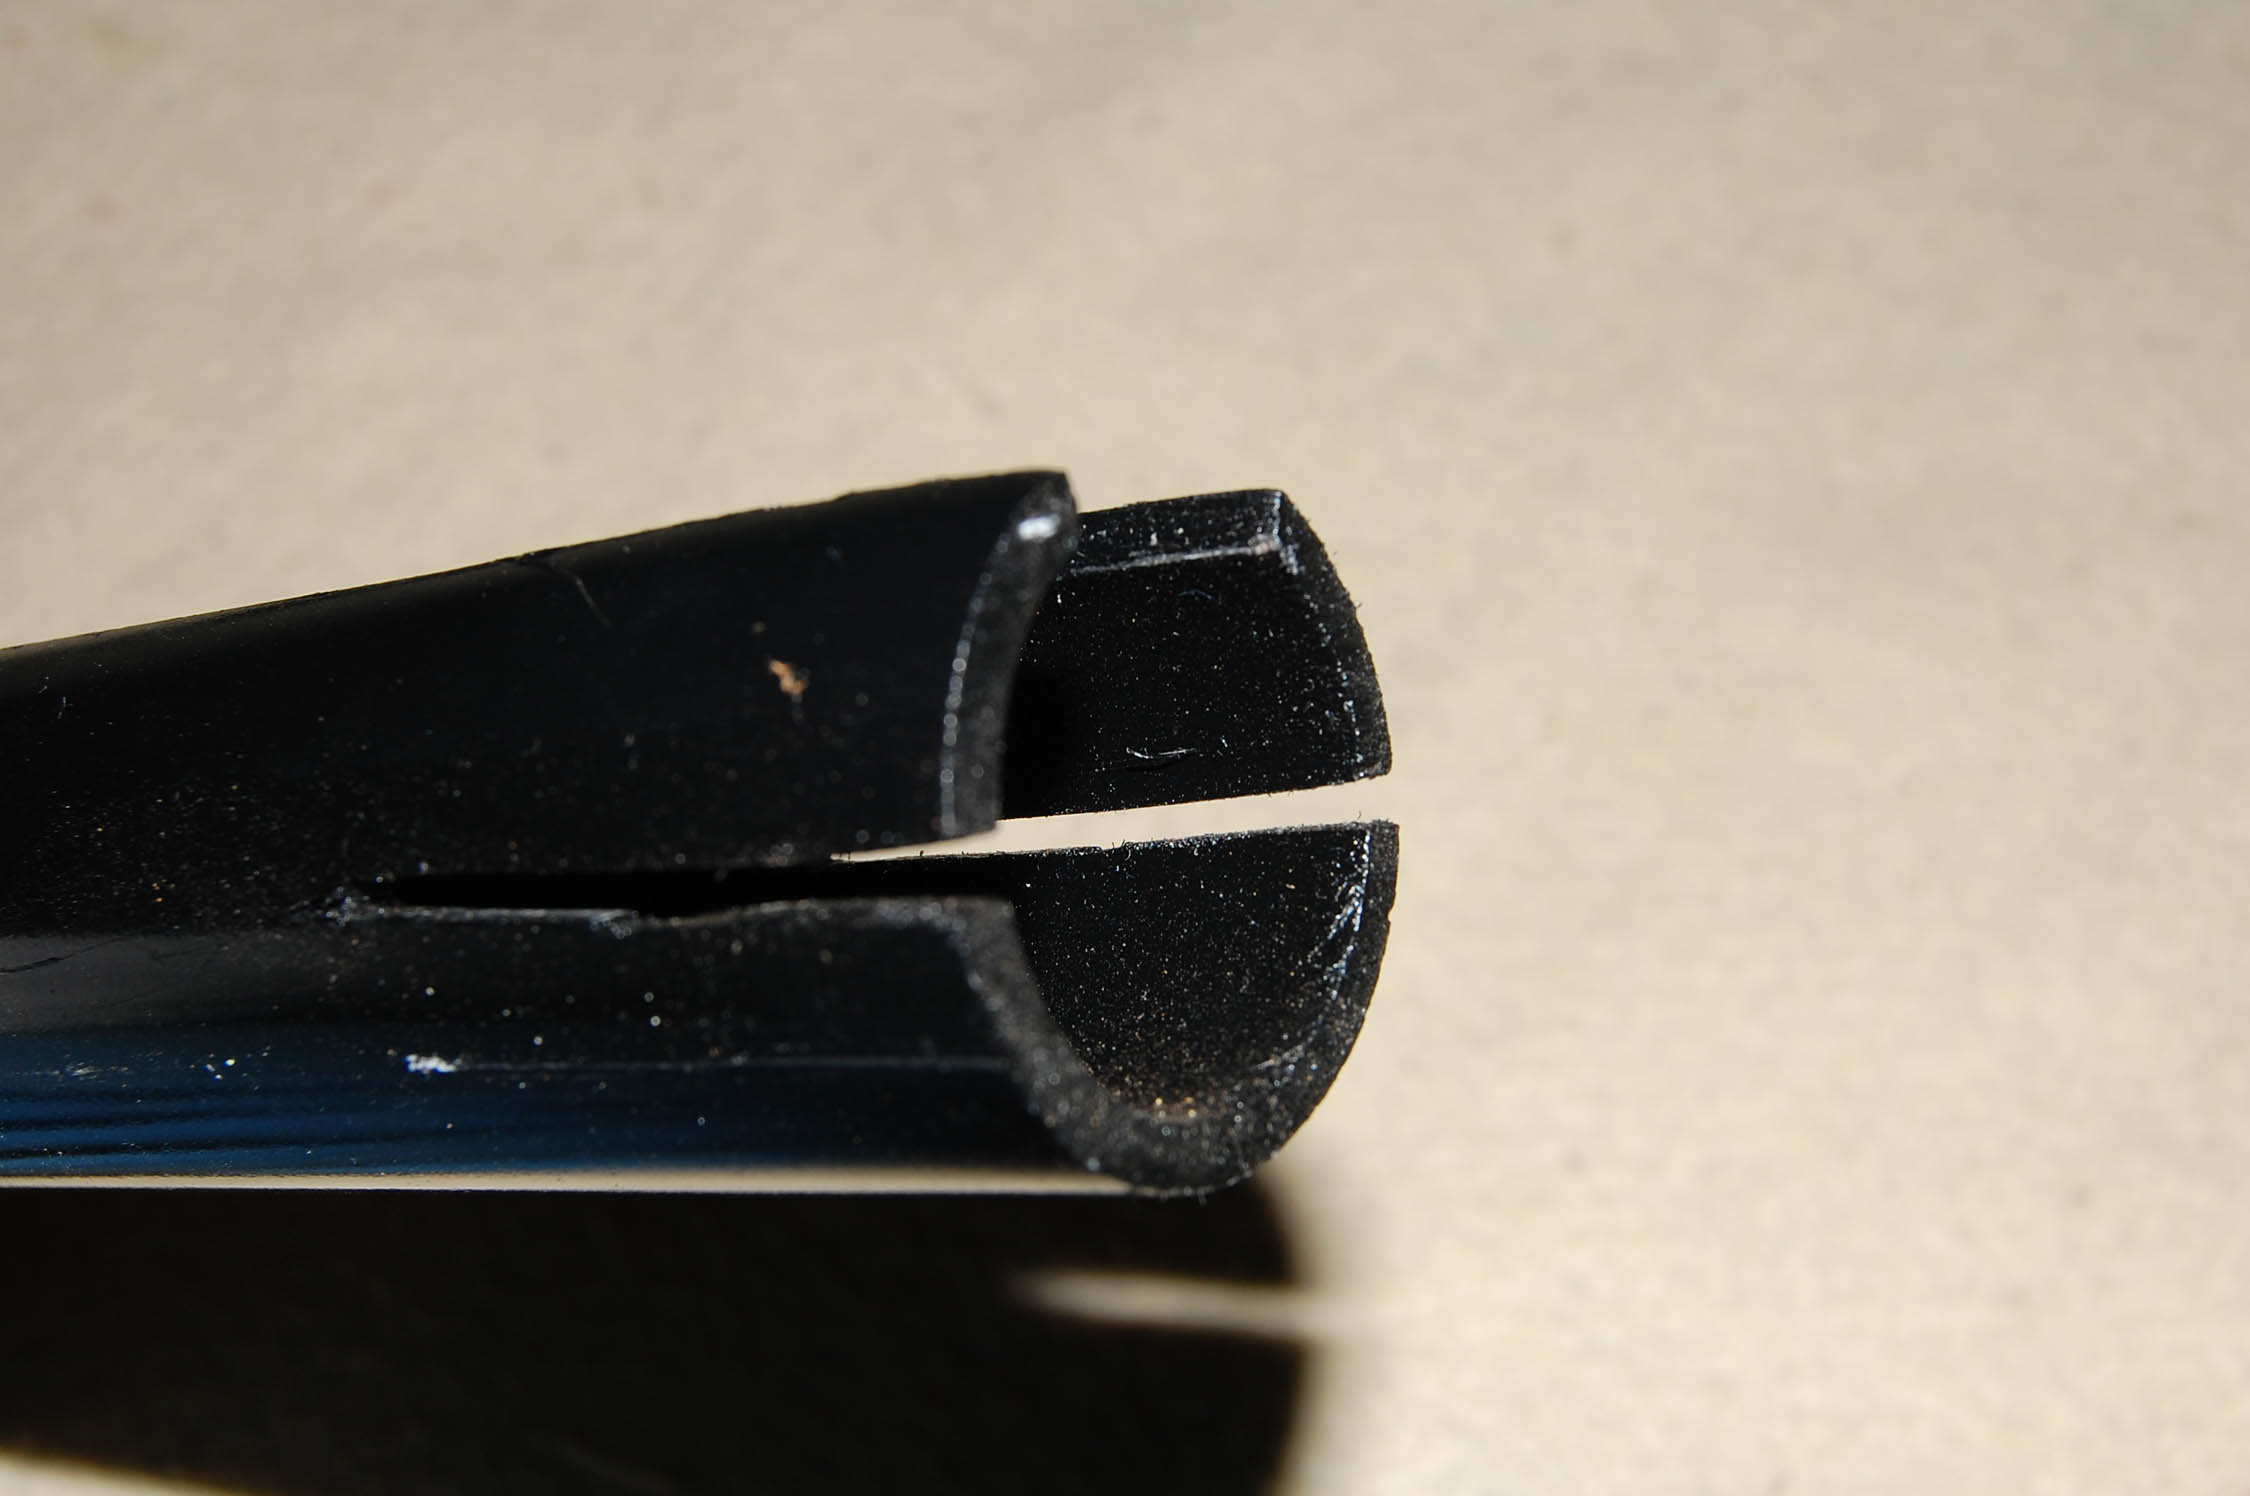
Step 2:
Place your saw across the middle of one end of the pipe and cut down 1 & 3/4 inches (as shown). It is recommended that the saw blade be pretty thick because the slots should end up being 1/8 inches wide. You may also have to use sandpaper to get the slots to the proper width.
Step 3:
At the opposite end of the pipe from where you cut the slits, cut as shown below. Be sure that you are cutting at the back, top end of the pipe! You may not need to cut out the 3/8" by 1/8" section. (By the way, don't cut anything while it's on the gun - I just took the picture with the system on the gun because I didn't want to break everything back down again.)

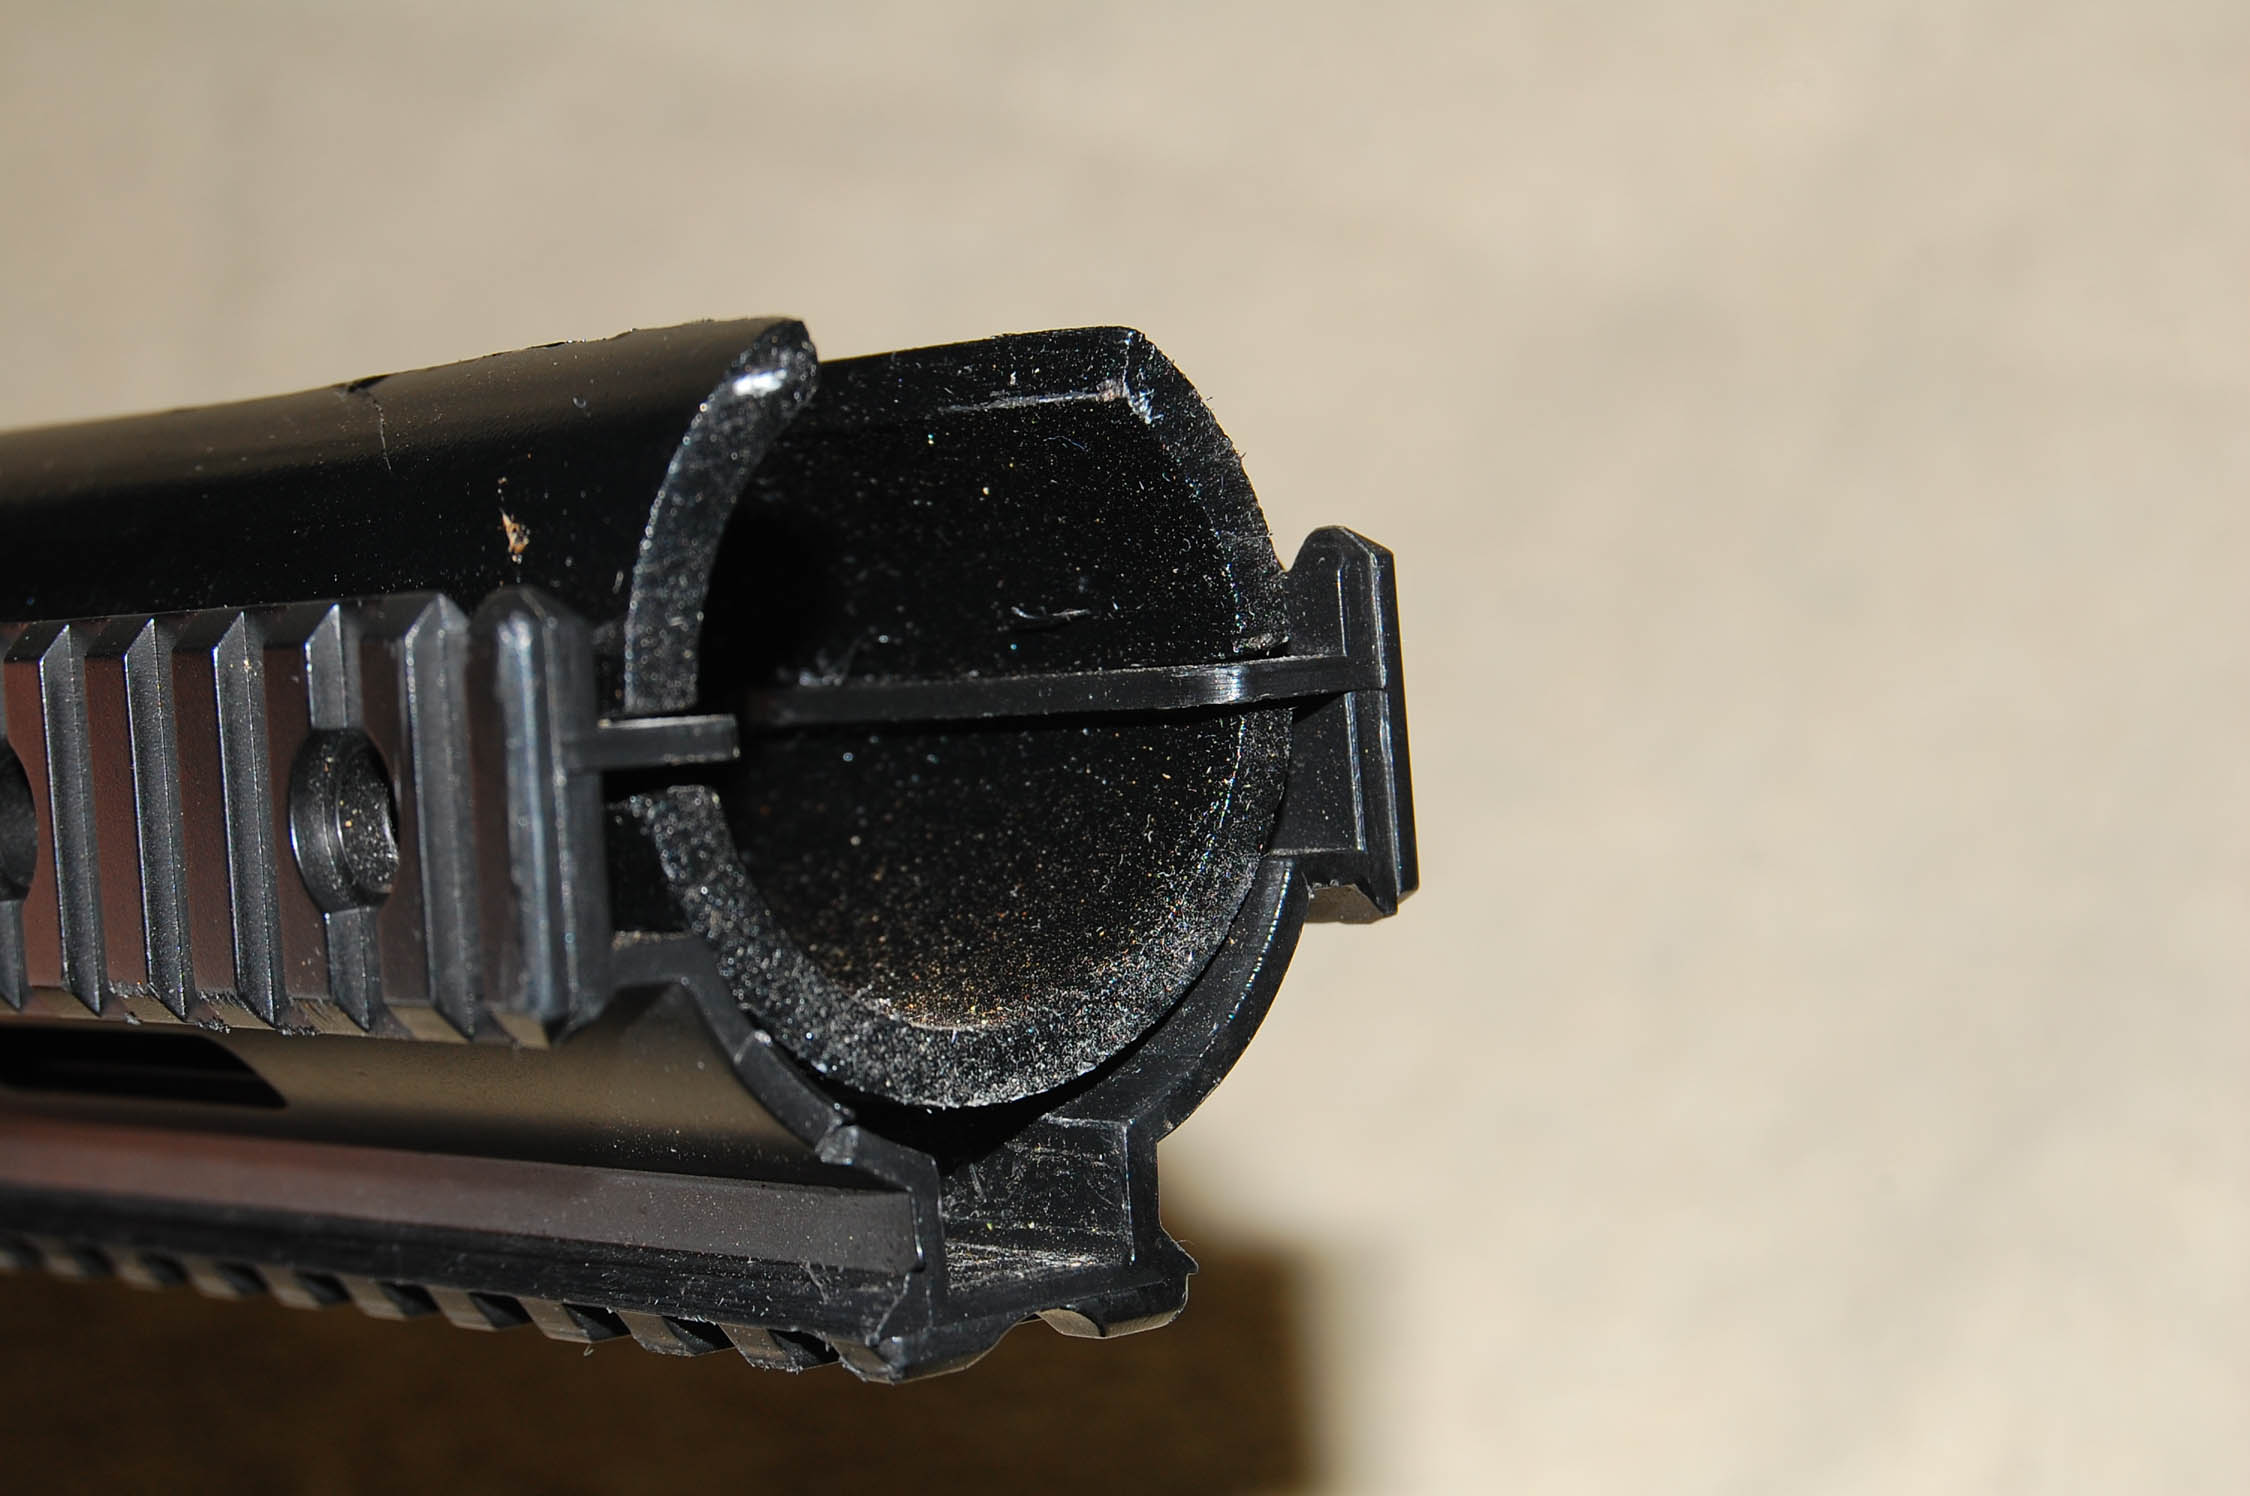
Step 4:
Take the M14 rail (mine is plastic - a metal one should still work, though) and slide the notches that are on it into the slits you cut into the pipe. Slide the pipe all the way to the end of the rail.
Step 5:
Use your drill and drill a hole in the middle of the rail hole (use the rail hole that is closest to the gun reciever. Also make sure that the drill bit is smaller that the thread on the screws). Now take your half-inch screws and screw them into the holes (make sure the screws are not too long or they will damage the gun).

Step 6:
Take your piece of wire and bend it in the middle. Then take each half and bend it in the middle so that it forms a 90 degree angle. Now take the ends of those sections and bend them into a circle. Make sure your wooden rod fits into these circles. You want it to be snug, but not really hard to put in. Shaping the wire is one of the trickiest parts as it can be difficult to bend the wire so that it will fit properly. You will most likely have to play around with it a little bit. After you have shaped the wire, insert it as shown below (2nd photo).


Step 7:
Take the whole rail system assembly and slide it carefully onto the gun. It won't slide on real easy, but you shouldn't have to force it. Make sure that you slide it on at an angle as shown below.

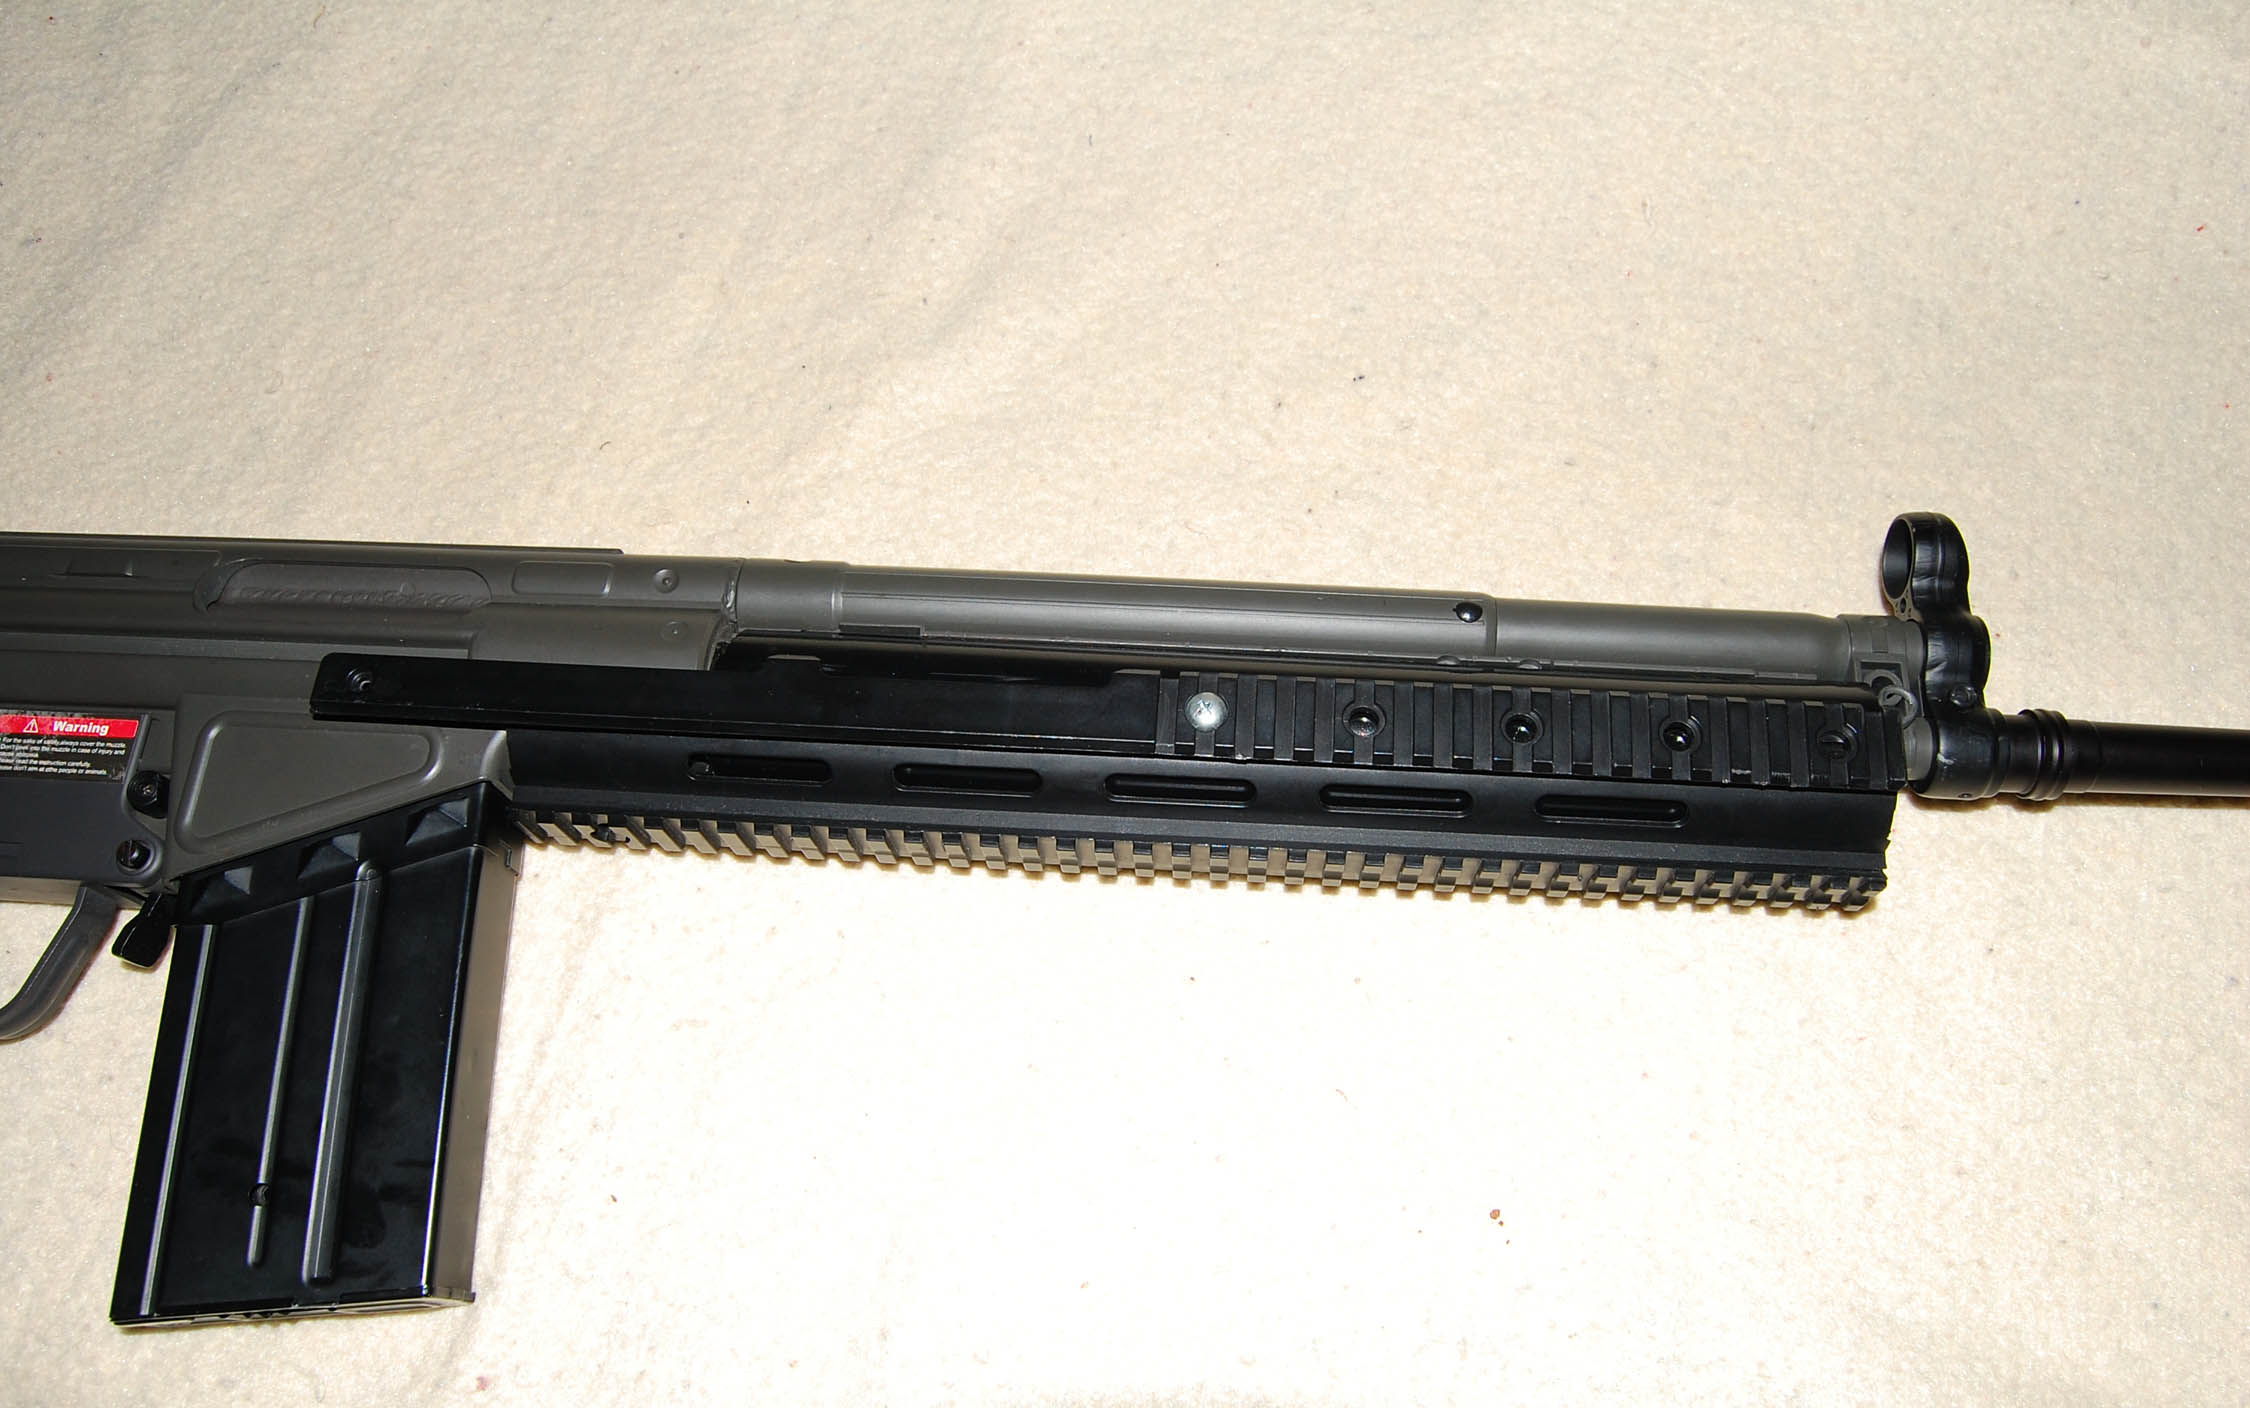
The rail system should look like this:
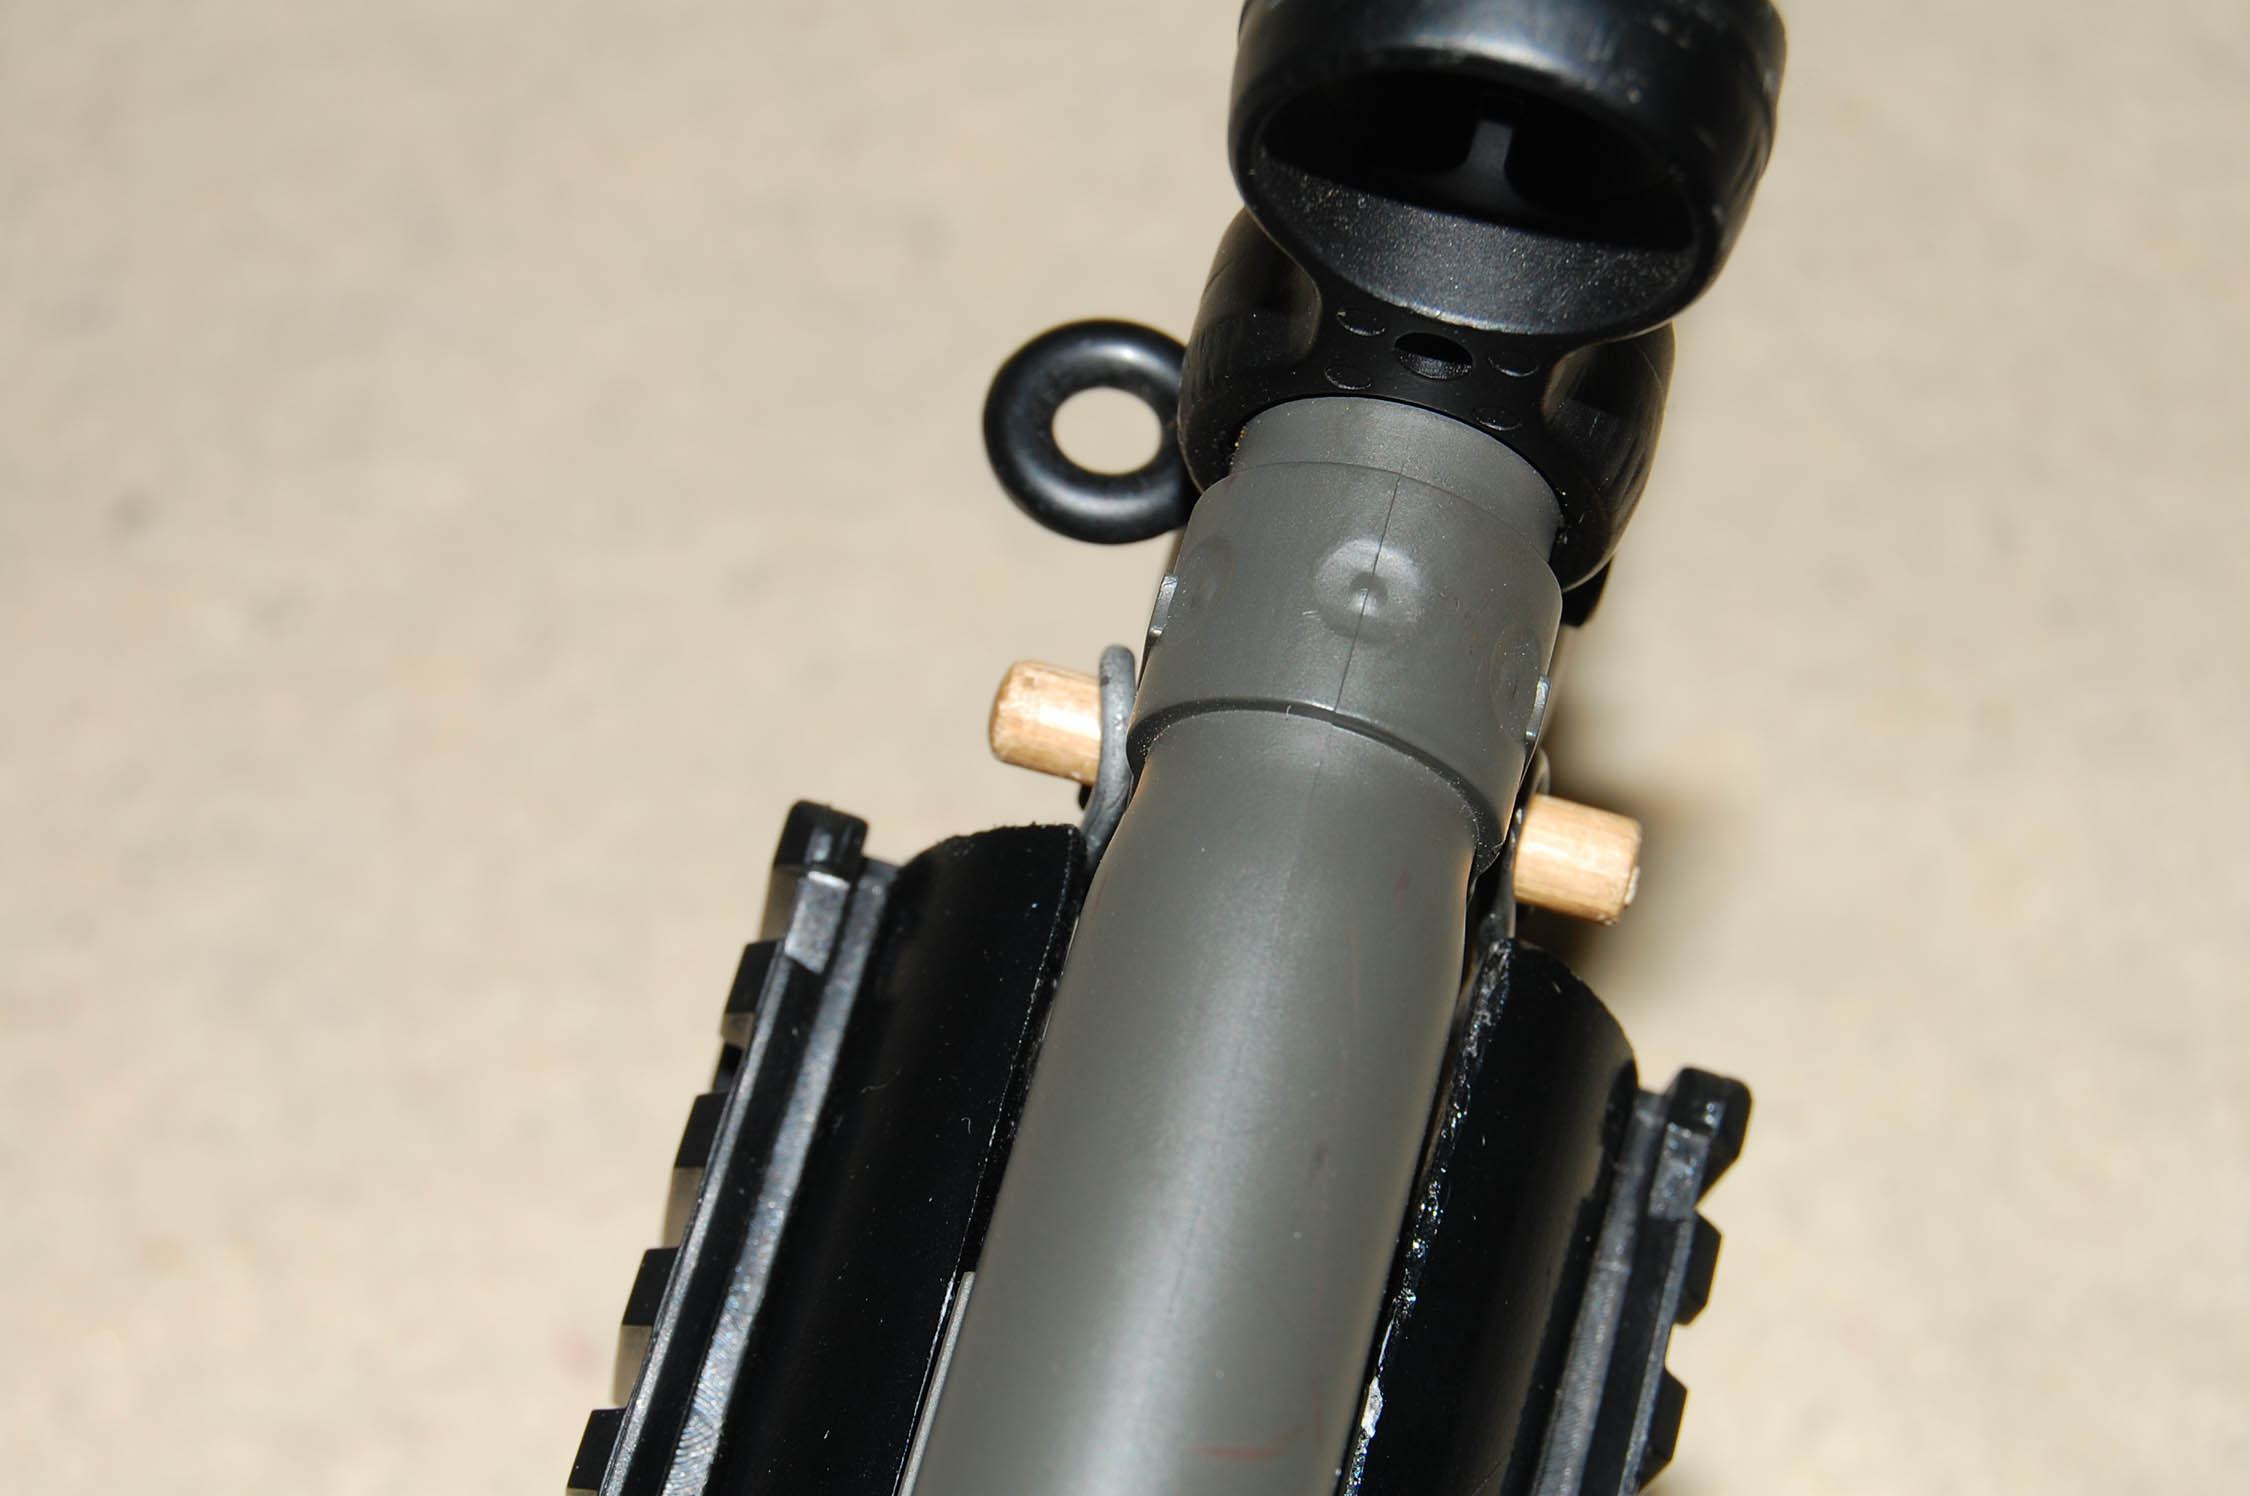
Step 8:
Take the wooden peg and stick it in as shown below:

The finished product should look like this (except for the foregrip):

Article by Striker
Disclaimer: We will not be held responsible for any action(s) taken in regard to the information provided in this article. Any action(s) you take as a result of reading this article you take by your own choice and at your own risk.